DIY: Unicorn Birthday Invitations!

DIY Unicorn Birthday Invitations

What you will need:

Cardstock
Ruler
Paper Trimmer
Stickers
Paint – I used pigment paint
Vinyl or stencil
Washi Tape
Pencil to trace
Markers

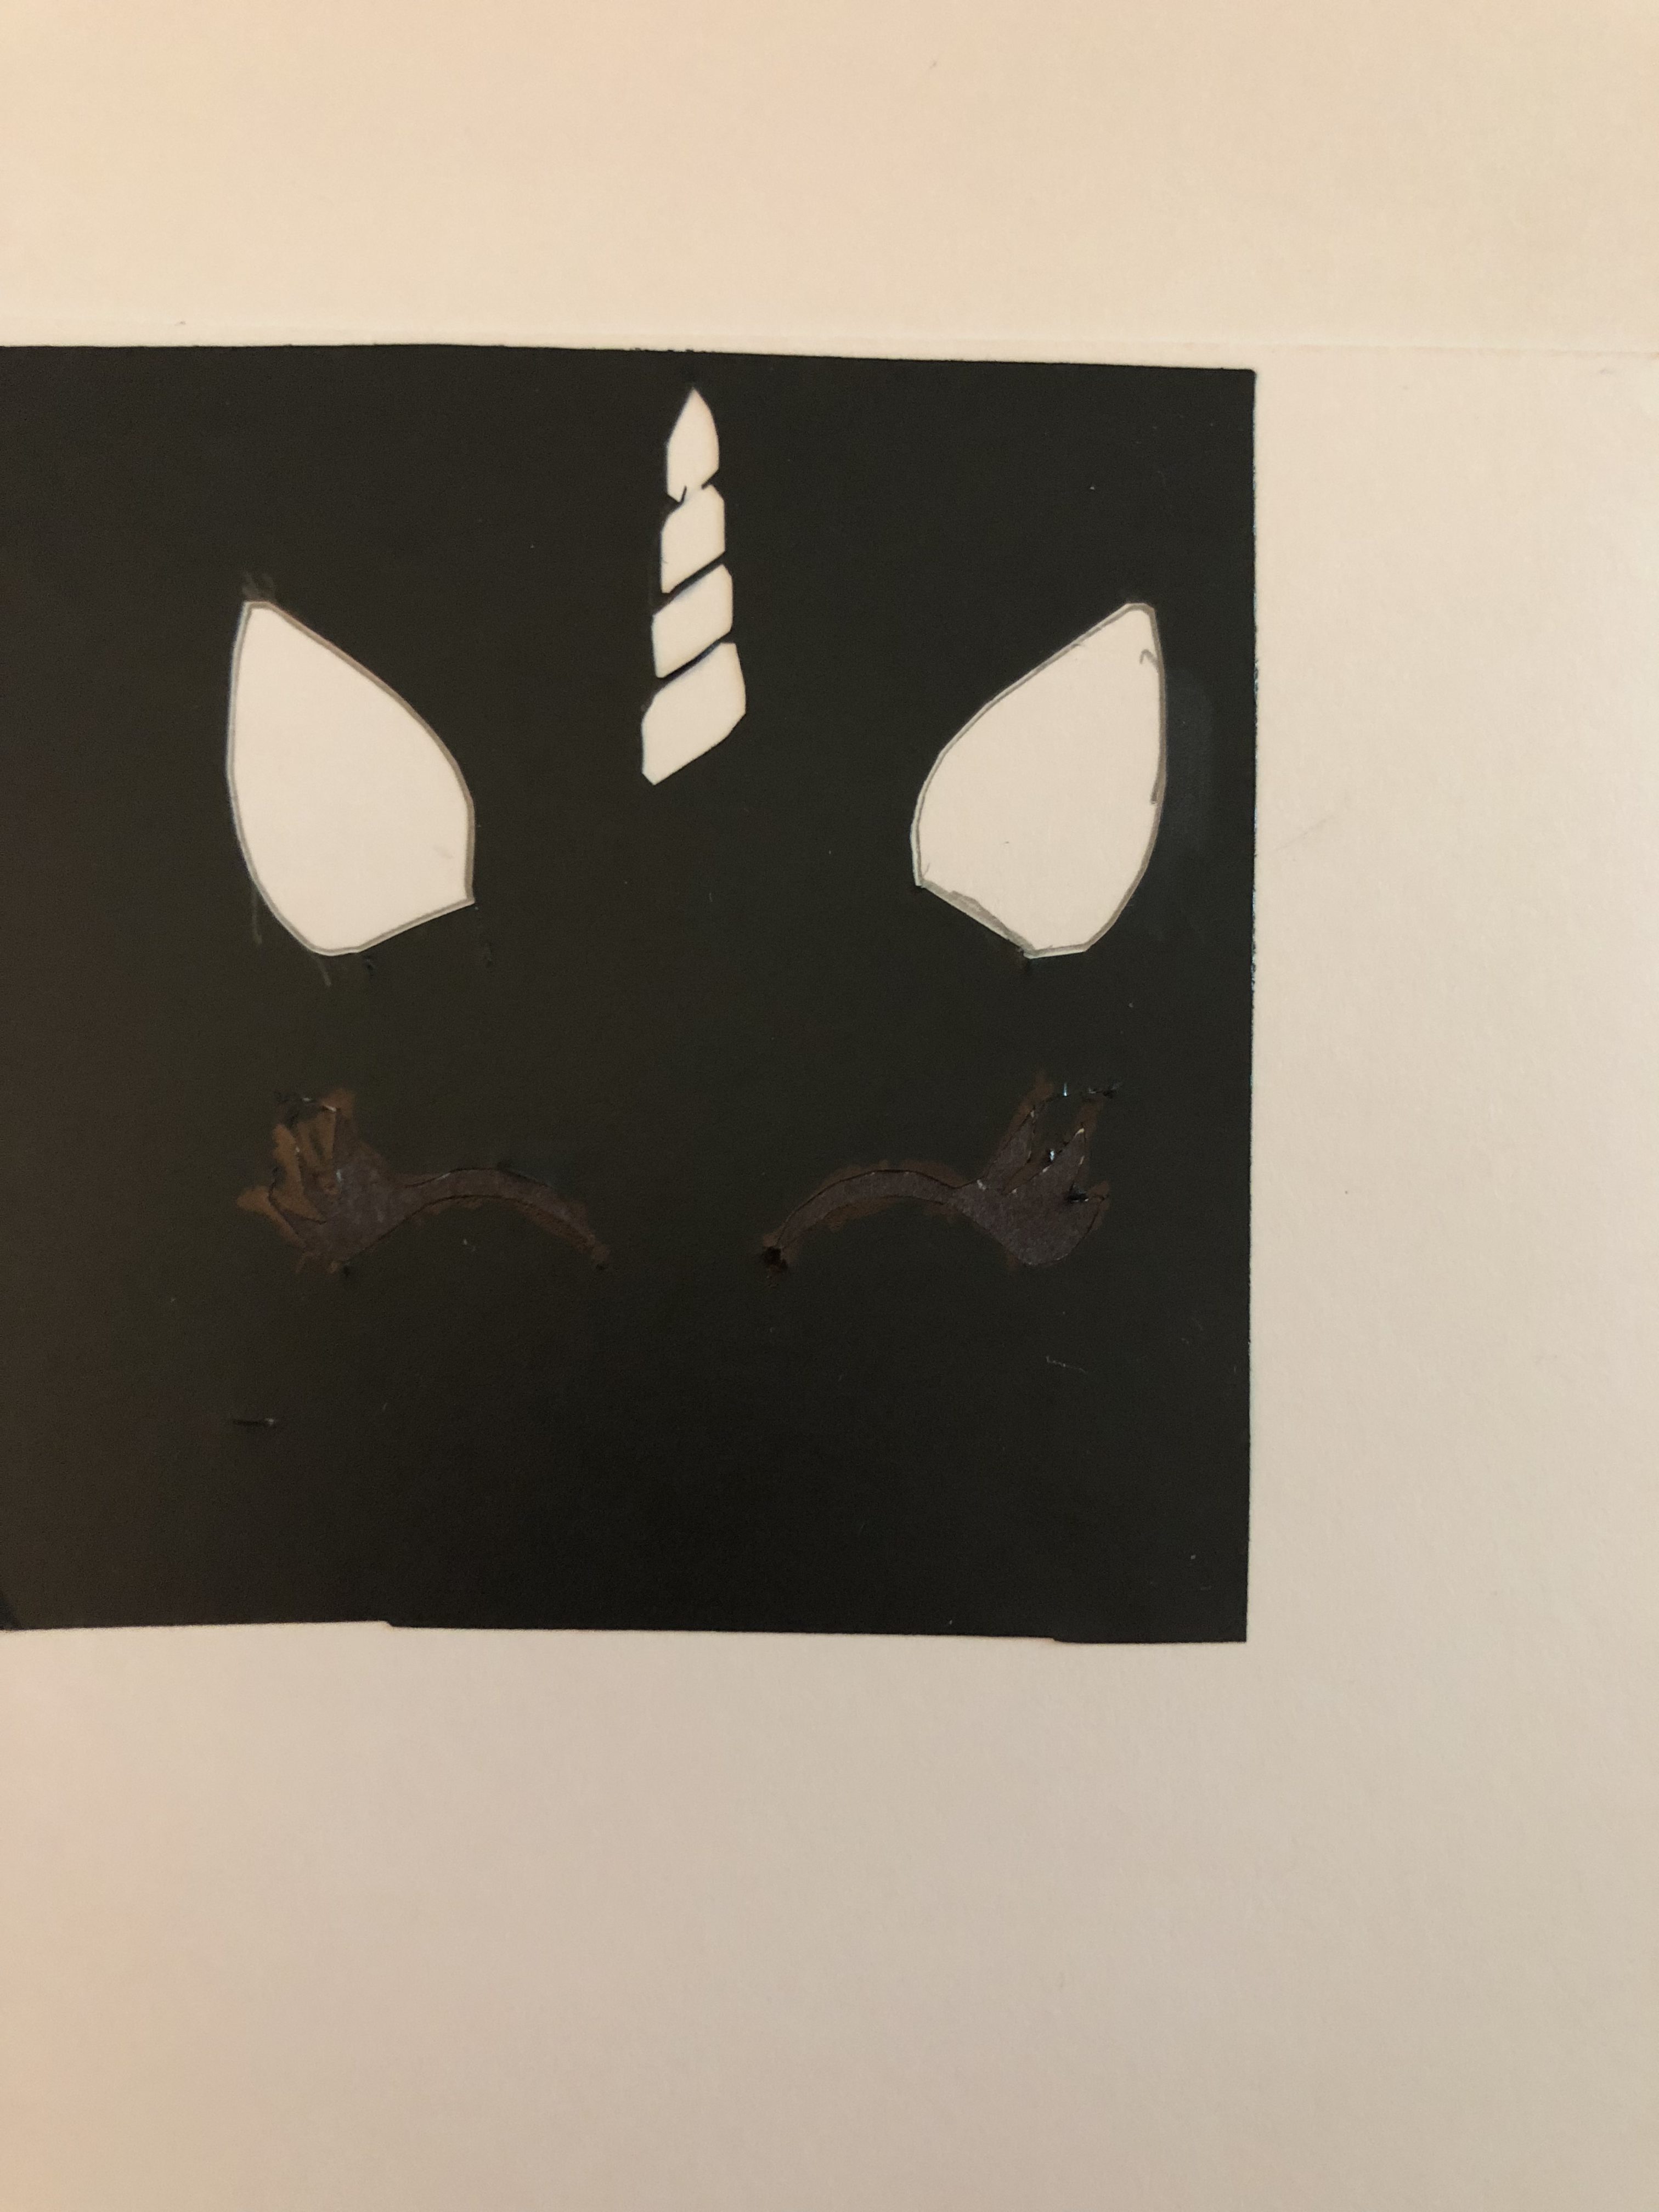
First things first, I cut the cardstock into 5×5 cm pieces. Of course, you can cut them into the sizes that fit your needs. Prior to cutting my cardstock, I created a design on my Silhouette Cameo for the unicorn face.

If you don’t have a
Silhouette Cameo cutter or equivalent you can probably just print the stencil from a piece of paper or actual stencil.


Once I did that I traced the face on the card stock using the stencil. Then I traced the ears and horn with a mechanical pencil (not that it makes a difference). After that, I placed the flower stickers right between the ears under the horn. I then colored the ears and horns and began putting the rest of the information like Autumn’s name, age and other important information on the invitations. As well as the washi tape.

I found the metallic washi tape online but you can purchase it anywhere. I thought the scalloped tape looked better on the side. While the patterned green tape looked better on the bottom. Now on to the next step.

The final step is placing the polka dots on the invitation with the paint. I like the mix of pink and aqua green colors. The final result is:

I think it turned out good. Next time I will not hand write the information. I will more than likely use my printer or the pens that came with my Silhouette Cameo. I see a few flaws but, Autumn loved them and couldn’t wait to pass them out to her friends. To me, her happiness is all that matters.


~Nika xoxo


Silhouette Mint Unboxing & Tutorial!

Hey Everyone,

I am so glad I finally purchased the Silhouette Mint! This is going to be an added bonus to my home office. Being able to create my own stamps without spending a ton of money for custom stamps, is absolutely amazing. Watch the video below to see what comes in the box along with a tutorial.

Free Fonts: www.dafont.com

For Silhouette Mint
Click Here
~Nika xoxo

DIY: Picture Board Tutorial

20160902_160502543_iOS

What you will need:

Poster Board
Decorative Duct tape
Ribbon
Glue Gun

20160902_150423367_iOS

I cut my poster board to 11.5 x 16

Lets get started…

20160902_153155432_iOS

Start by placing strips of the decorative duct tape across the poster board.

20160902_154152396_iOS

This is what your poster board should look like once you have placed enough of your decorative strips on the poster board.

20160902_154718454_iOS

I also placed a few strips around the back to make it look cleaner and neater from the front.

20160902_154943803_iOS

Now take your your ribbon and start by placing it diagnolly on your board. Place more strips as desired.

20160902_155923861_iOS

This is what mine looked like once I was finished. I also took some small pieces of the duct tape and placed it on tip of the ribbon that hung over the back of the board. To secure it a bit more.

And finally…

20160902_160502543_iOS20160902_161010274_iOS


I hope you like this project. This can also be done with fabric and elastic as well. I made a hairbow holder which is similar to this. For that I used fabric instead of duct tape. Send me photos if you make this and they could possibly end up on the site so others can have alternative ideas to my make one of their own.

-Nika xoxo


DIY Holiday Wreath

20151115_154747355_iOS
What you are going to need:

Glue gun
Needle
Thread
Ribbon (I used 1″ & 7/8″ ribbon)
Cut the ribbon into 24+ 36″ strips (I used satin, organza and grosgrain)
Flatback pearls or other decorations
Fabric Stiffen

20151114_173819398_iOS

Here are my 36″ strips cut I made extra just in case

20151114_175314298_iOS

Take your needle and sew a running stitch like shown above all the way to the end of the ribbon.

20151114_181115338_iOS

I pulled the ribbon to start the flower as I kept sewing along the running stitch

20151114_181546941_iOS 20151114_182240151_iOSOnce you are to the end pull to form a flower. When you pull the thread the ribbon will form a circle on its own.

Note: (if the ribbon turns the wrong way as you’re pulling it simply turn it the right way and keep forming the circle.)

20151114_183438431_iOS

I took my needle through the ribbon several times along the inner circle to make sure it was extra tight and secure.

Now you want to follow the first 3 steps until all the flowers are formed.

20151115_015126329_iOS

I used several different colors

20151115_143133201_iOS

Take a 36″ strip of ribbon tie in a knot at the top for hanging

20151115_144112848_iOS

Now you want to begin placing the flowers. I started at the knot. I used hot glue to hold them together (you can sew them instead). Continue until you form a circle. Once you have all of the flowers placed like you want them. I completed mine with some flatback pearls and then I used some fabric stiffen that I purchased at Michael’s. You can purchase it from any hobby store. And….

20151115_154720224_iOS