DIY Easter Egg Banner!

Hello Everyone, Today we are making an Easter Egg Banner made from felt, ribbon, and button. This is a really easy and fun project to work on by yourself, or with kids. All you will need is the supplies I listed above along with anything else you may want to use. Oh, and let’s not forget the egg-shaped stencil to trace onto the felt. But… if DIY’s are not for you click here to purchase a banner of your own. ~Nika xoxo

DIY: How To Add Glitter To A Wine Glass!


Today I finally got around to making some decorative wine glasses for myself .

I have made these glasses for myself before and used different methods and some of the same. The process of making these are simple and easy. I like to use Mod Podge when putting glitter on my glasses as well for a sealant over the glitter.

Next comes the fun part. Adding the decorations. This process is where you can really showcase your talents and creativity. I like to play around by mix and matching certain decorations together. You will be surprised at the items you think don’t work well together, actually do work well together.

To see the full tutorial make sure to watch the video below. Until next time. Bye Loves ~ Nika xoxo

DIY: Unicorn Birthday Invitations!

DIY Unicorn Birthday Invitations

What you will need:

Cardstock
Ruler
Paper Trimmer
Stickers
Paint – I used pigment paint
Vinyl or stencil
Washi Tape
Pencil to trace
Markers

First things first, I cut the cardstock into 5×5 cm pieces. Of course, you can cut them into the sizes that fit your needs. Prior to cutting my cardstock, I created a design on my Silhouette Cameo for the unicorn face.

If you don’t have a
Silhouette Cameo cutter or equivalent you can probably just print the stencil from a piece of paper or actual stencil.


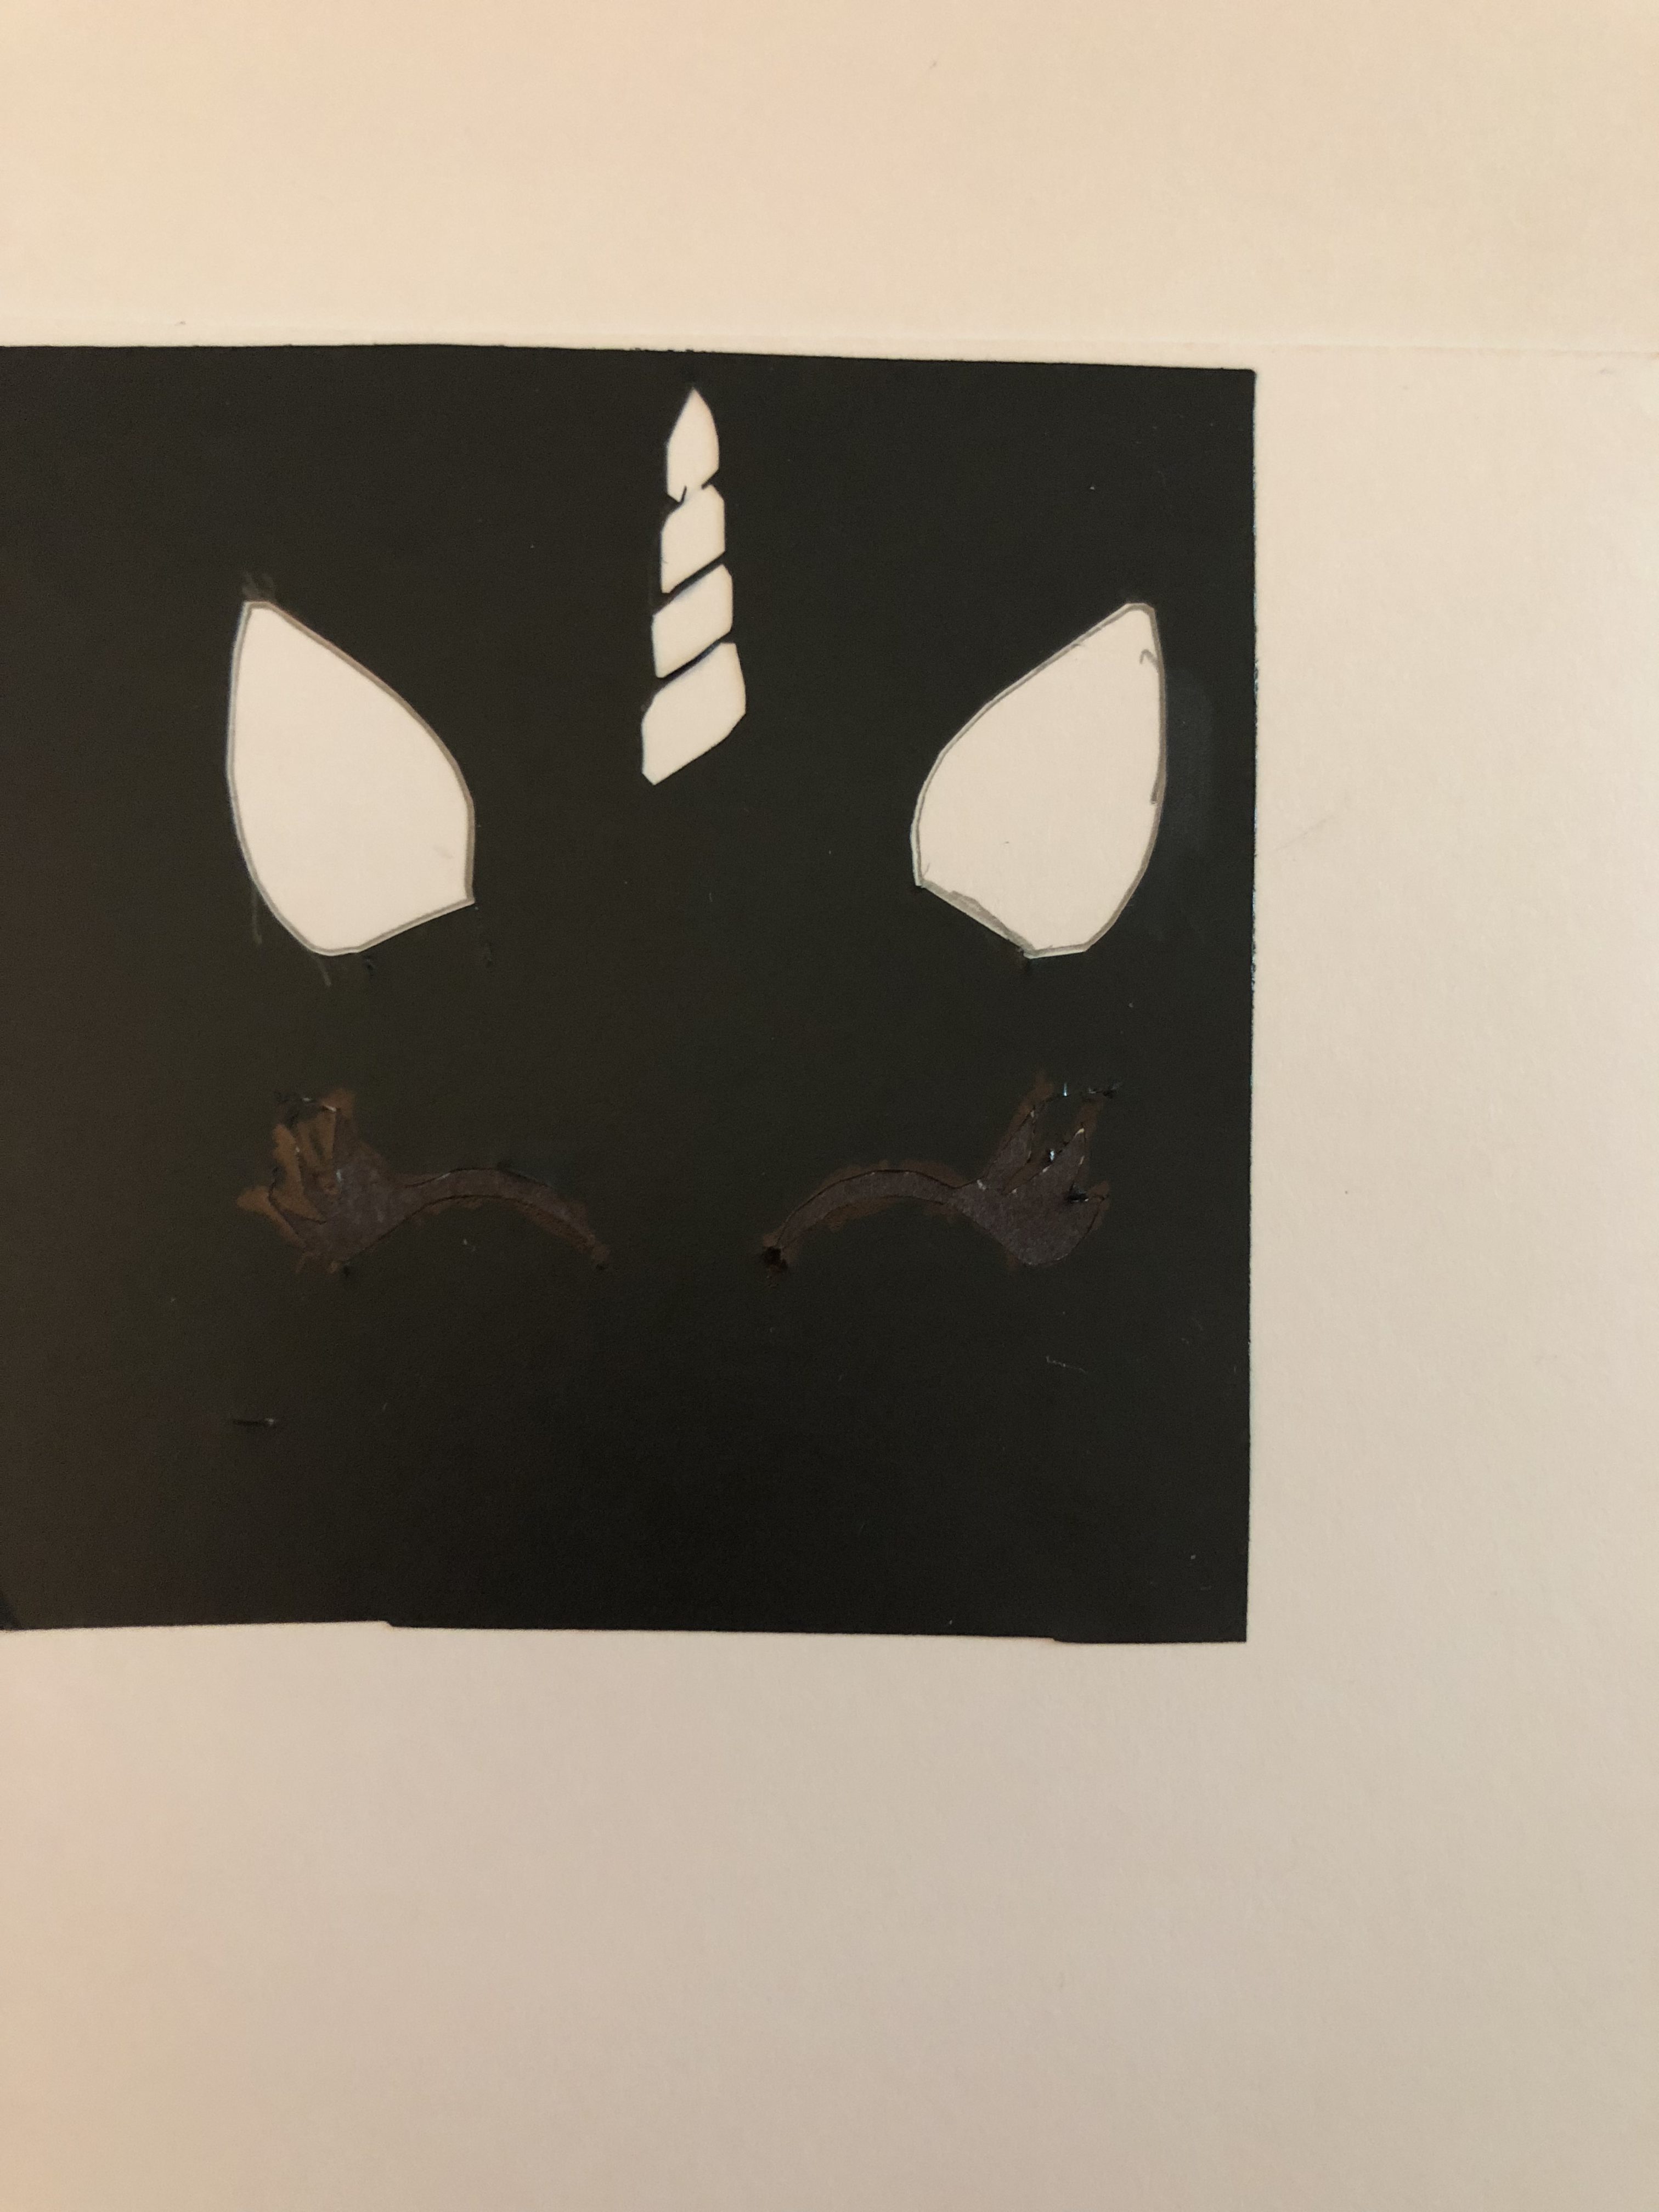
Once I did that I traced the face on the card stock using the stencil. Then I traced the ears and horn with a mechanical pencil (not that it makes a difference). After that, I placed the flower stickers right between the ears under the horn. I then colored the ears and horns and began putting the rest of the information like Autumn’s name, age and other important information on the invitations. As well as the washi tape.

I found the metallic washi tape online but you can purchase it anywhere. I thought the scalloped tape looked better on the side. While the patterned green tape looked better on the bottom. Now on to the next step.

The final step is placing the polka dots on the invitation with the paint. I like the mix of pink and aqua green colors. The final result is:

I think it turned out good. Next time I will not hand write the information. I will more than likely use my printer or the pens that came with my Silhouette Cameo. I see a few flaws but, Autumn loved them and couldn’t wait to pass them out to her friends. To me, her happiness is all that matters.


~Nika xoxo


Indoor Herb/Vegatable Garden!

Hello Everyone,

It feels like its been so long since I’ve posted anything. So, I felt this is the perfect time to show you how I made my indoor herb garden and where I placed it. I happened to be watching Fixer Upper one day and saw it on there. I thought to myself, I’m doing that. So I did and here it is. To learn more you can watch the video included in this post.
P.S. For those who want to do it the easy way and cut out all the work try one of these indoor herb garden

~Nika xoxo

Hello Everyone!

Here are some last minute Easter basket ideas that are inexpensive and cute. I like to personalize things like this for my kids. No matter how old they get they still like to get Easter Baskets. I know its last minute but there is still another day to put together some really cute personalized Easter Baskets.

~Nika xoxo

Firmoo Glasses Review

Hello Everyone,

Today I bring to you a review I did on a pair of glasses from Firmoo.com. They are an online company you can order prescription glasses and lens or simply reading glasses. This is a company I am happy to recommend to all of you. I have several children in my home who wears glasses and its nothing like one of them breaking a pair and having to spend well over $200 to replace them. After coming across this online company, I am happy that I can now order a spare pair of glasses for my children. Without spending a great deal of money on them. Check out my video below as well if you are interested, go check them out they are running a special offer right now.

$4.95 a pair for new customers Here (frame+ standard lens, Limited Quota)

~Nika xoxo

DIY Santa Letters using Silhouette Cameo!

So I have fallen in love with using my Silhouette Cameo again. I keep forgetting how many things it can do. One of the cutest things I made were these =Letters to Santa for my youngest 2 children.
Which they absolutely love.

For those of you who don’t have a Silhouette Cameo, I have included a step by step guide on how to use Microsoft Word to make the same creation, using clip art and lines.

The first thing you want to do is open up Microsoft Word and select a new blank document. Once the program is open you want to go to insert and select online pictures (unless you have your own pictures to use. In that case select pictures) a window will pop up for you to find images. I typed in the search bar Christmas.

Now that you have selected your images you want to figure out where to place your clip art. *Note Word doesn’t give you many options when it comes to placing the clip art where you want to. I chose to put it in the upper right corner.

At this point, you can start by adding the greeting and proceed with adding the lines for the children to write to Santa. You want to select shapes in order to add the lines.

Now that you have added the lines. It’s time to add the finishing touches.


Now that you have added the finishing touches you are ready to print the letter out and give to your special little ones. They will love it I know my kids did. Whatever format you choose to use any child is sure to love it. If you make one of these make sure to take pictures and send them to me so I can see how you took my idea and made it your own.

~Nika xoxo