
These little crafts were so easy to make and fun for kids to make to add some decorations to your home. I used:
Toilet paper rolls

Foam Balls
Scrap Fabric


Hot Glue Gun
These little crafts were so easy to make and fun for kids to make to add some decorations to your home. I used:
Toilet paper rolls
Foam Balls
Scrap Fabric
Hot Glue Gun
This is one of my favorite times of year, Fall! This is when I make a lot of my DIY’s. I have grown very fond of making centerpieces for my dining room table. And as it turns out my family actually likes them. So that means a lot to me. Everything except for the acrylic rhinestones was purchased from the Dollar Tree. The rhinestones were purchased at Walmart. I hope you like it just as much as I do.`
~Nika xoxo
What I used:
Fake Flowers & Leaves
Vase
Acrylic Rhinestones
Rocks
Hey Y’all,
Today’s video is a review I did for Craftville Heat Transfer Vinyl. I am also doing a giveaway and the link is below for that giveaway. Which is a 22 pack of 12″ x 10″ variety colors heat transfer vinyl. Make sure to enter for your chance to win. My overall review from this company is good. The weeding was easy, the vinyl feels really smooth and of good quality. It was also very easy to iron on to the shirt and didn’t take as much pressure as it takes me with other types of vinyl.
~Nika xoxo
Hello,

Today I created another unicorn themed item for Autumn’s birthday. DIY Unicorn Hairbows. She absolutely loves them. I can not wait for her to wear them to school on her birthday. They were super easy to make and a small amount of time. Best of all they can be made in so many different ways. After her birthday I think I will still be making a lot more. Watch the video below to see how I made them.
~Nika xoxo


Cardstock
Ruler
Paper Trimmer
Stickers
Paint – I used pigment paint
Vinyl or stencil
Washi Tape
Pencil to trace
Markers
First things first, I cut the cardstock

If you don’t have a
Silhouette
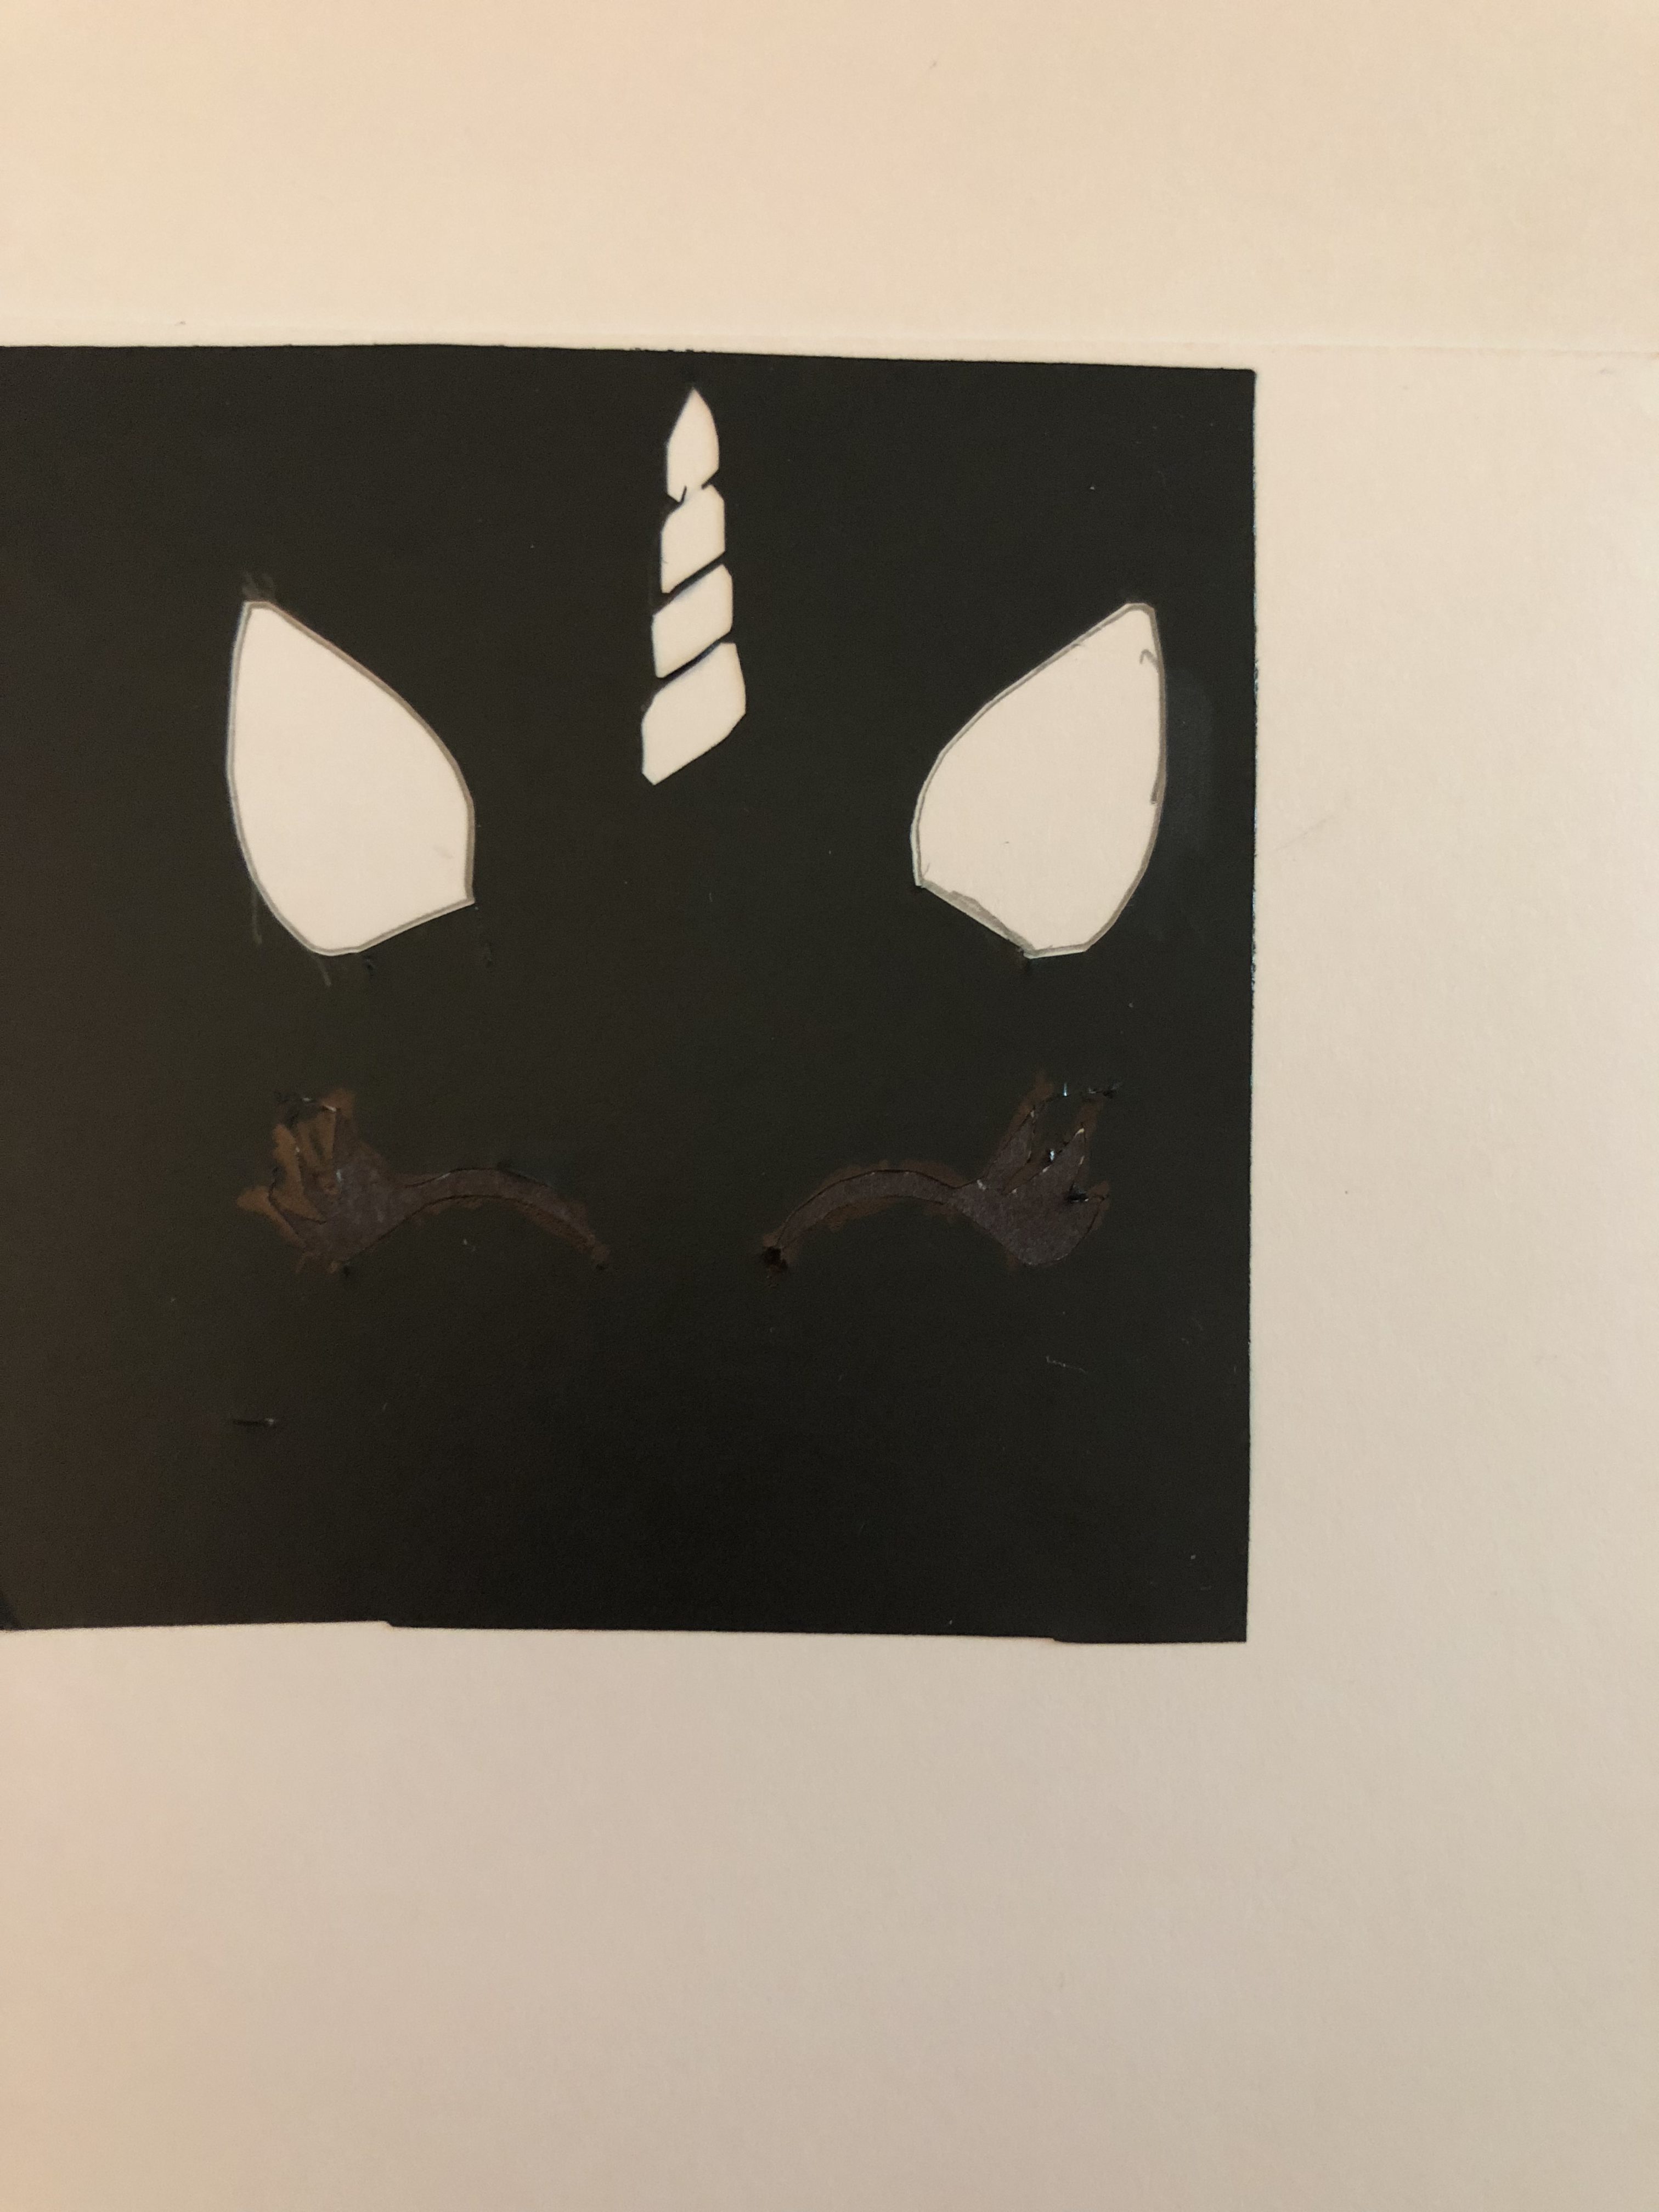

Once I did that I traced the face on the card stock using the stencil. Then I traced the ears and horn with a mechanical pencil (not that it makes a difference). After that, I placed the flower stickers right between the ears under the horn. I then colored the ears and horns and began putting the rest of the information like Autumn’s name, age and other important information on the invitations. As well as the washi tape.

I found the metallic washi

The final step is placing the polka dots on the invitation with the paint. I like the mix of pink and aqua green colors. The final result is:
I think it turned out good. Next time I will not hand write the information. I will more than likely use my printer or the pens that came with my Silhouette Cameo
~Nika xoxo
Hello Everyone,
So most of the video was not recorded. Yeah, dumb me lol! But I do tell you how I got my beach waves. If you want me to do a full how-to video let me know in the comments. Anyway, Enjoy the video.
~Nika xoxo
Hello Everyone,
It feels like its been so long since I’ve posted anything. So, I felt this is the perfect time to show you how I made my indoor herb garden and where I placed it. I happened to be watching Fixer Upper one day and saw it on there. I thought to myself, I’m doing that. So I did and here it is. To learn more you can watch the video included in this post.
P.S. For those who want to do it the easy way and cut out all the work try one of these indoor herb garden
~Nika xoxo
Here are some last minute Easter basket ideas that are inexpensive and cute. I like to personalize things like this for my kids. No matter how old they get they still like to get Easter Baskets. I know its last minute but there is still another day to put together some really cute personalized Easter Baskets.
~Nika xoxo

What you will need:
Poster Board
Decorative Duct tape
Ribbon
Glue Gun

I cut my poster board to 11.5 x 16
Lets get started…

Start by placing strips of the decorative duct tape across the poster board.

This is what your poster board should look like once you have placed enough of your decorative strips on the poster board.

I also placed a few strips around the back to make it look cleaner and neater from the front.

Now take your your ribbon and start by placing it diagnolly on your board. Place more strips as desired.

This is what mine looked like once I was finished. I also took some small pieces of the duct tape and placed it on tip of the ribbon that hung over the back of the board. To secure it a bit more.
And finally…

I hope you like this project. This can also be done with fabric and elastic as well. I made a hairbow holder which is similar to this. For that I used fabric instead of duct tape. Send me photos if you make this and they could possibly end up on the site so others can have alternative ideas to my make one of their own.
-Nika xoxo

What You Need:
Candle Holder (I used a glad candle)
Mod Podge or any type of glue
Tape
Paint Brush
Glitter
Rhinestones or other decorations
Flat back decorations

Tape off the part of the holder you don’t want glitter on.

Paint on glue all around the holder.

Now sprinkle the glitter onto the holder all over the glue you put on in the previous step. Once you have all the glitter covering the glue. Let dry. Tap off any excess glitter once dry.

Now place another layer of glue over the glitter to seal it. Let dry.

Once its dry roughly a few hours later. Take the tape off and place rhinestones or other decorations as desired. I used the rhinestone mesh and a flatback pearl decoration. Many variations of this DIY project can be done.

