I really love simple and easy
~Nika xoxo
I really love simple and easy
~Nika xoxo
These have become some of my favorite things to create. From the DIY Valentines Day cards to these decorations. I am just having fun with it. I hope these ideas will give you some inspiration. Make sure to leave a comment and let me know if you tried any of them. And if DIY isn’t for you can you always purchase your own.

This was a really fun project to do and I can’t wait to do this with the kids. You can make these cards in many different ways. Have fun!

This has been a long-awaited video for a lot of my Youtube viewers. I also felt this would be a great video to share with all of you as well. Below you will find video instructions on how to put the pettiskirts together. As well I am also putting suggested measurements and step by step instructions below. I hope you all are satisfied. Let me know what you would like to see next.
~Nika xoxo
Spandex
Satin
Nylon chiffon about 3 yards – I purchase mine from afc-express.com
1-inch-wide ribbon & elastic
Iron-on interfacing (1 1/2 yards)
1-inch-wide ribbon in coordinating color
Button
Iron
Sewing machine
Pins
Needle and thread
Scissors
Directions:
Cut 1 Spandex or Satin 7 1/2-by-48-inch rectangle
Iron-on interfacing: two 2-by-48-inch strips
Cut Nylon chiffon: six 3 1/2-by-46-inch strips; twelve 4 1/2-by-54-inch strips; enough lengths of 2 1/2-inch-wide strips to make 48 yards
Cut one 17-inch-long piece elastic
Cut two 18-inch-long pieces of 1-inch-wide ribbon
Iron a strip of interfacing to the wrong side of the spandex or satin rectangle along each long edge.
Fold the spandex or satin piece in half widthwise (to make a 7 1/2-by-24-inch rectangle), with right sides facing each other. Match edges and pin along short side.
Starting at one end of the pinned short side, sew a seam along the side for 2 inches and backstitch to secure.
Leave a 1 1/2-inch opening and begin sewing again to finish the edge, backstitching at both ends.
Flip the the waistband right side out and fold in half lengthwise by folding the top half in toward the center, matching the raw edges at the bottom. The fabric should be right side out on the inside and outside of the waistband. Press the fold and pin the raw edges.
Straight stitch all the way around the waistband, 1 1/4 inches down from the fold.
Straight stitch all the way around the waistband once more, 1 inch down from the first stitch line.
Sew three of the 3 1/2-inch-wide nylon chiffon pieces together, end to end, to make one long strip. Repeat to make a second strip.
Shirr along one long end of each strip.
Attach the shirred side of one strip to the outer bottom raw edge of the waistband. Repeat with the second shirred strip and the inside bottom raw edge of the waistband.
Sew 6 of the 4 1/2-inch-wide nylon chiffon pieces together to make a long strip. Repeat to make a second strip.
Shirr along one long end of each strip.
Attach the shirred side of one strip to the bottom edge of the outer first tier. Repeat with the second shirred strip and the bottom edge of the inner first tier.
Sew enough 2 1/2-inch strips of nylon chiffon together to make two 24-yard long strips.
Shirr these strips down the middle of the strip (not along an edge as before).
Pin the stitched line of the shirred strip to the bottom edge of the outer second tier, and sew in place along the stitched line.
Repeat with the second shirred strip on the bottom of the inner second tier.
Attach the 18-inch pieces of ribbon to each end of the elastic.
Attach a large safety pin to one end of the ribbon and feed through the waistband
Tie ribbon ends in a bow. Cut ribbon ends neatly to finish.

Today I did another quick and easy tutorial. Turning lollipops into Halloween creatures. Watch the video to see what I created.
~Nika
What I used:
Tootsie Pops
Fuzzy Wire Red & Black
Fuzzy Ball
Tissue Paper or Scrap Fabric
Ribbon, string or yarn
Marker
This is one of my favorite times of year, Fall! This is when I make a lot of my DIY’s. I have grown very fond of making centerpieces for my dining room table. And as it turns out my family actually likes them. So that means a lot to me. Everything except for the acrylic rhinestones was purchased from the Dollar Tree. The rhinestones were purchased at Walmart. I hope you like it just as much as I do.`
~Nika xoxo
What I used:
Fake Flowers & Leaves
Vase
Acrylic Rhinestones
Rocks


Cardstock
Ruler
Paper Trimmer
Stickers
Paint – I used pigment paint
Vinyl or stencil
Washi Tape
Pencil to trace
Markers
First things first, I cut the cardstock

If you don’t have a
Silhouette
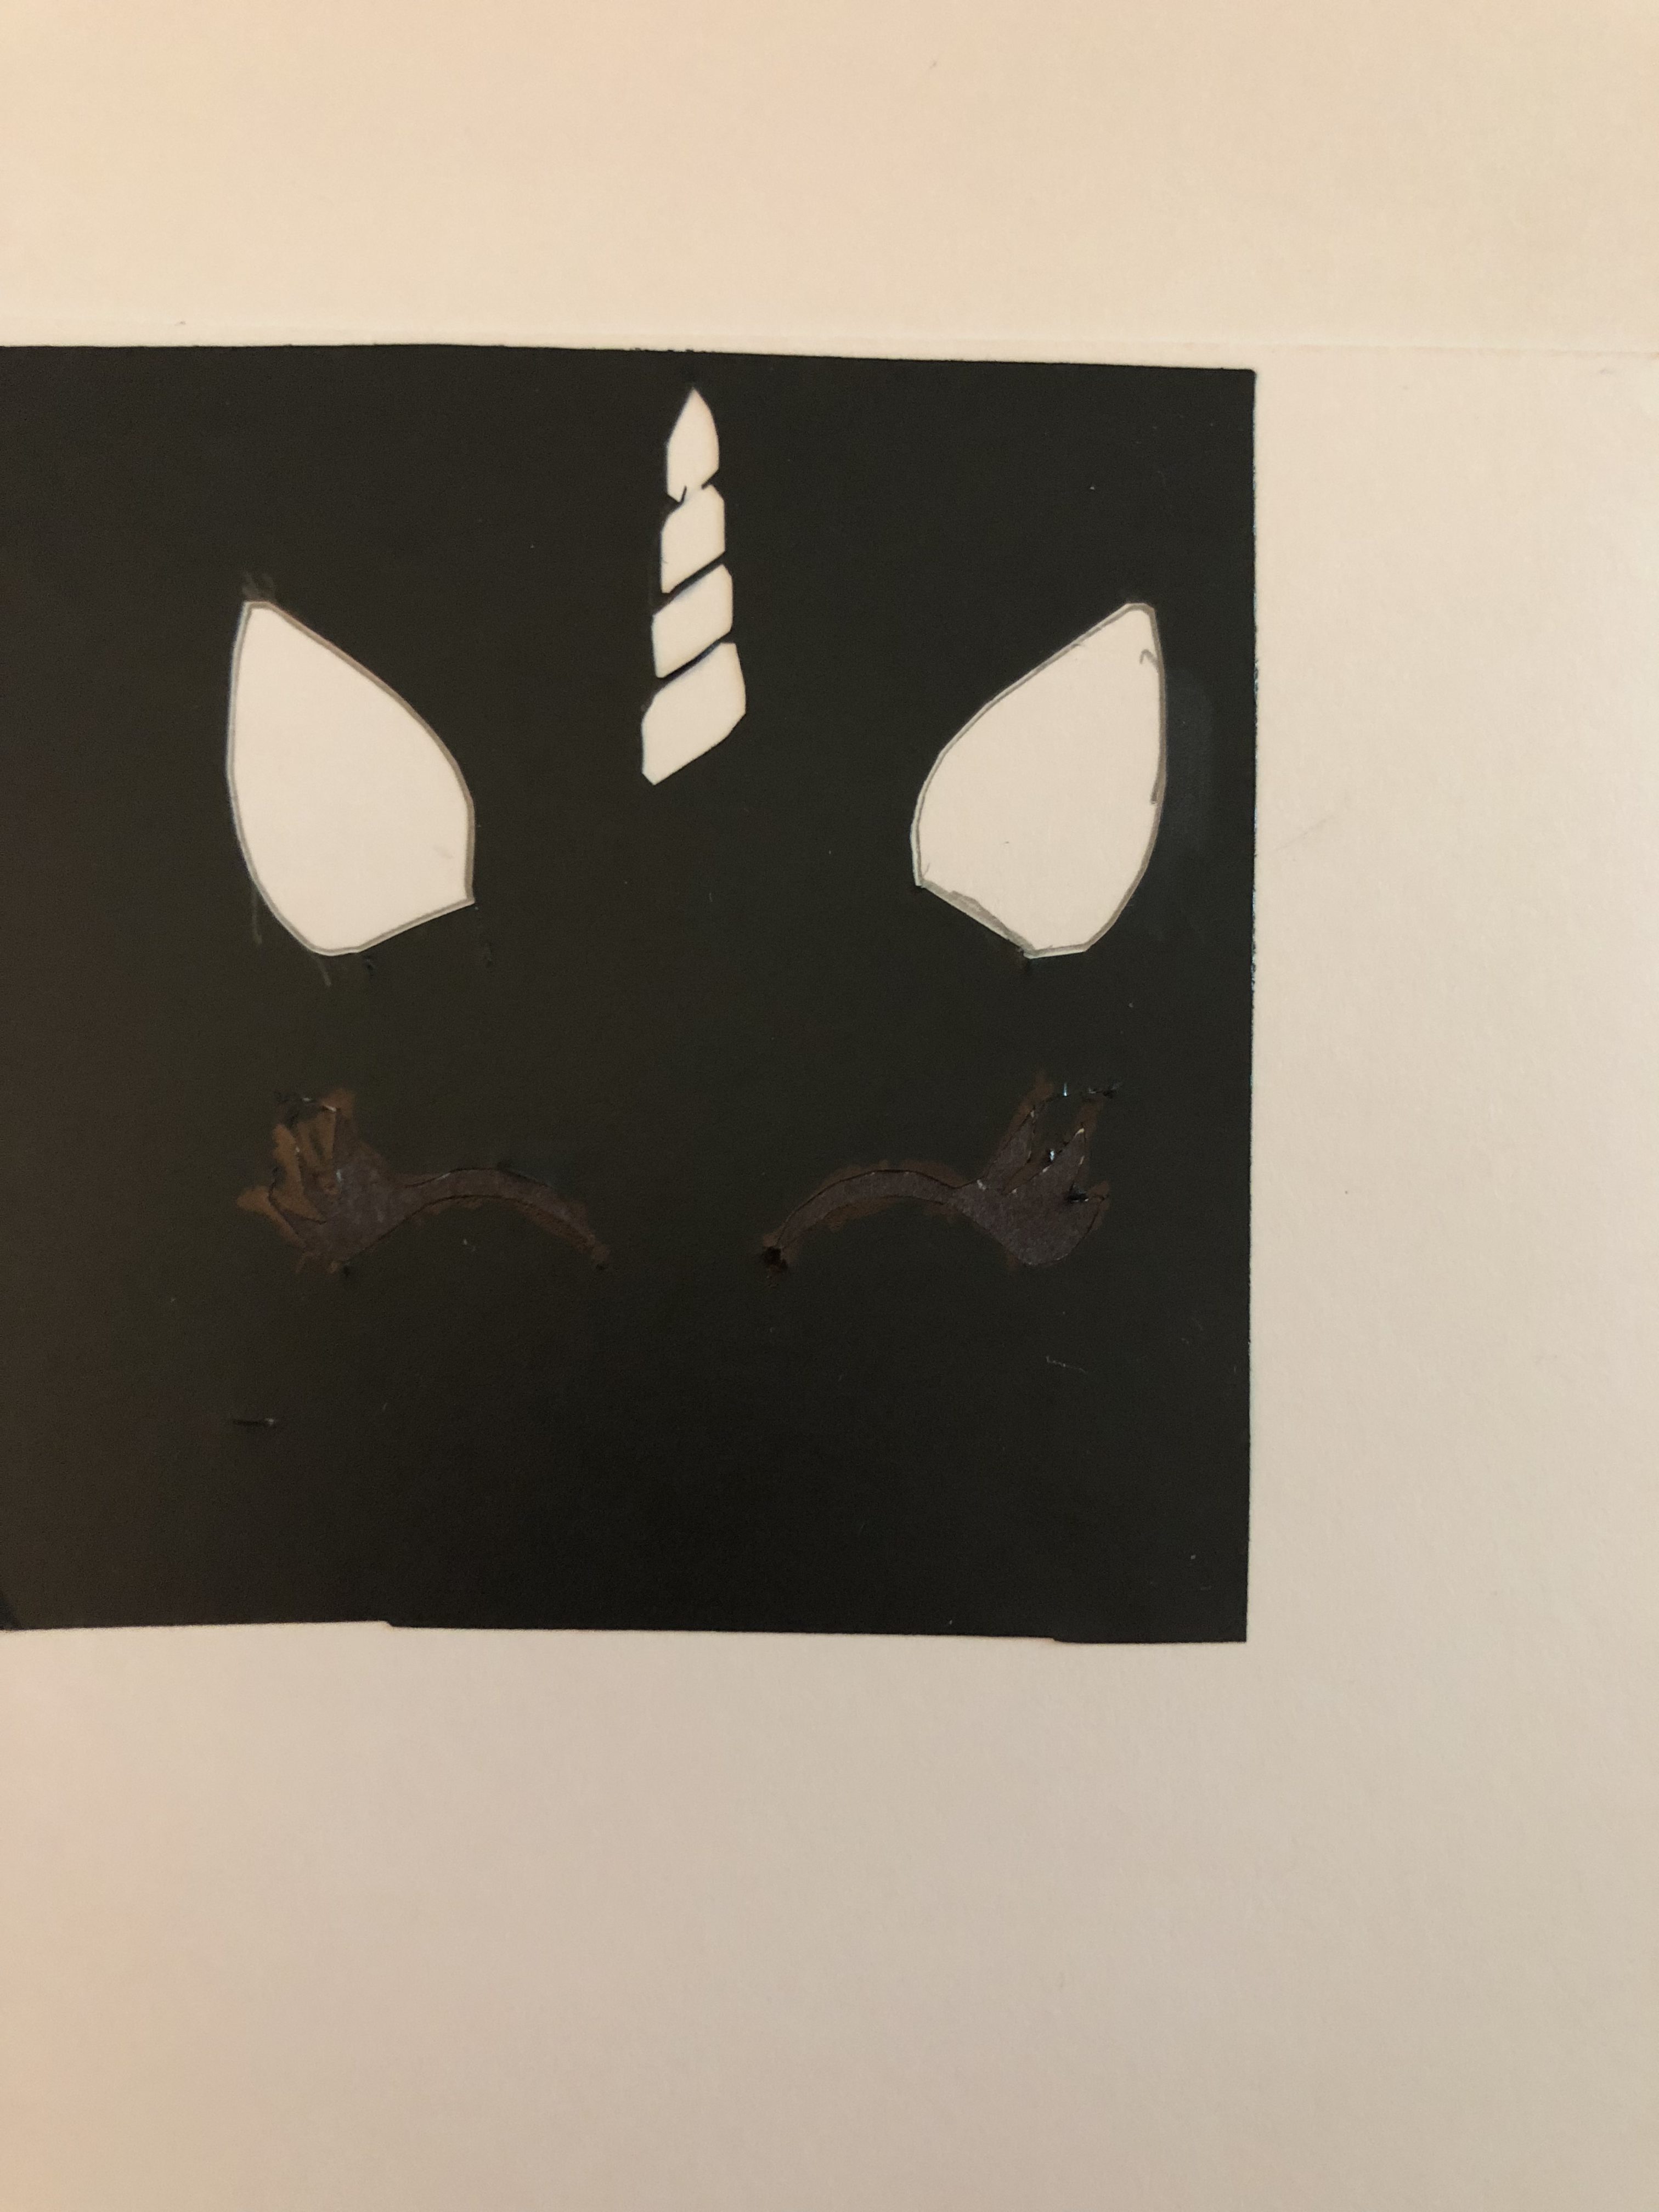

Once I did that I traced the face on the card stock using the stencil. Then I traced the ears and horn with a mechanical pencil (not that it makes a difference). After that, I placed the flower stickers right between the ears under the horn. I then colored the ears and horns and began putting the rest of the information like Autumn’s name, age and other important information on the invitations. As well as the washi tape.

I found the metallic washi

The final step is placing the polka dots on the invitation with the paint. I like the mix of pink and aqua green colors. The final result is:
I think it turned out good. Next time I will not hand write the information. I will more than likely use my printer or the pens that came with my Silhouette Cameo
~Nika xoxo


