Tag: mommy blogs
Finished My Room Organization!


Hello Y’all,
I am finally finished with the main part of my bedroom organization. Well at least my side of the room. I feel like I can better keep things organized now. Below is a video of me explaining how I did all of this. If you want me to do a tutorial on my nail polish holder let me know.
~Nika xoxo
Everything is the video & photos:
Foam Board I got from the dollar tree
Contact Paper – I got from Walmart
Drawer Cabinets – I ordered the cabinets from Michael’s
The Wood Shelf – I picked up at home depot
The drawer organizers – I made them from cereal boxes and contact paper
Creative Kitchen Junior Chef!
Hello Everyone,
This is rather late but I wanted to share it anyway. For those of you who don’t know. My little Autumn Raine loves cooking. For her birthday one of the items on her list was cooking utensils. So, when my mother-in-law called to find out what she wanted I told her, and so we have the Creative Kitchen Junior Chef Kit which Autumn loves. Below you will find her showing you everything that came in her kit.
~Nika xoxo
We purchased her’s from Amazon if you’re interested in ordering one for your little chef.
DIY Unicorn Hairbow Tutorial
Hello,

Today I created another unicorn themed item for Autumn’s birthday. DIY Unicorn Hairbows. She absolutely loves them. I can not wait for her to wear them to school on her birthday. They were super easy to make and a small amount of time. Best of all they can be made in so many different ways. After her birthday I think I will still be making a lot more. Watch the video below to see how I made them.
~Nika xoxo
DIY: Unicorn Birthday Invitations!
DIY Unicorn Birthday Invitations


What you will need:
Cardstock
Ruler
Paper Trimmer
Stickers
Paint – I used pigment paint
Vinyl or stencil
Washi Tape
Pencil to trace
Markers
First things first, I cut the cardstock

If you don’t have a
Silhouette
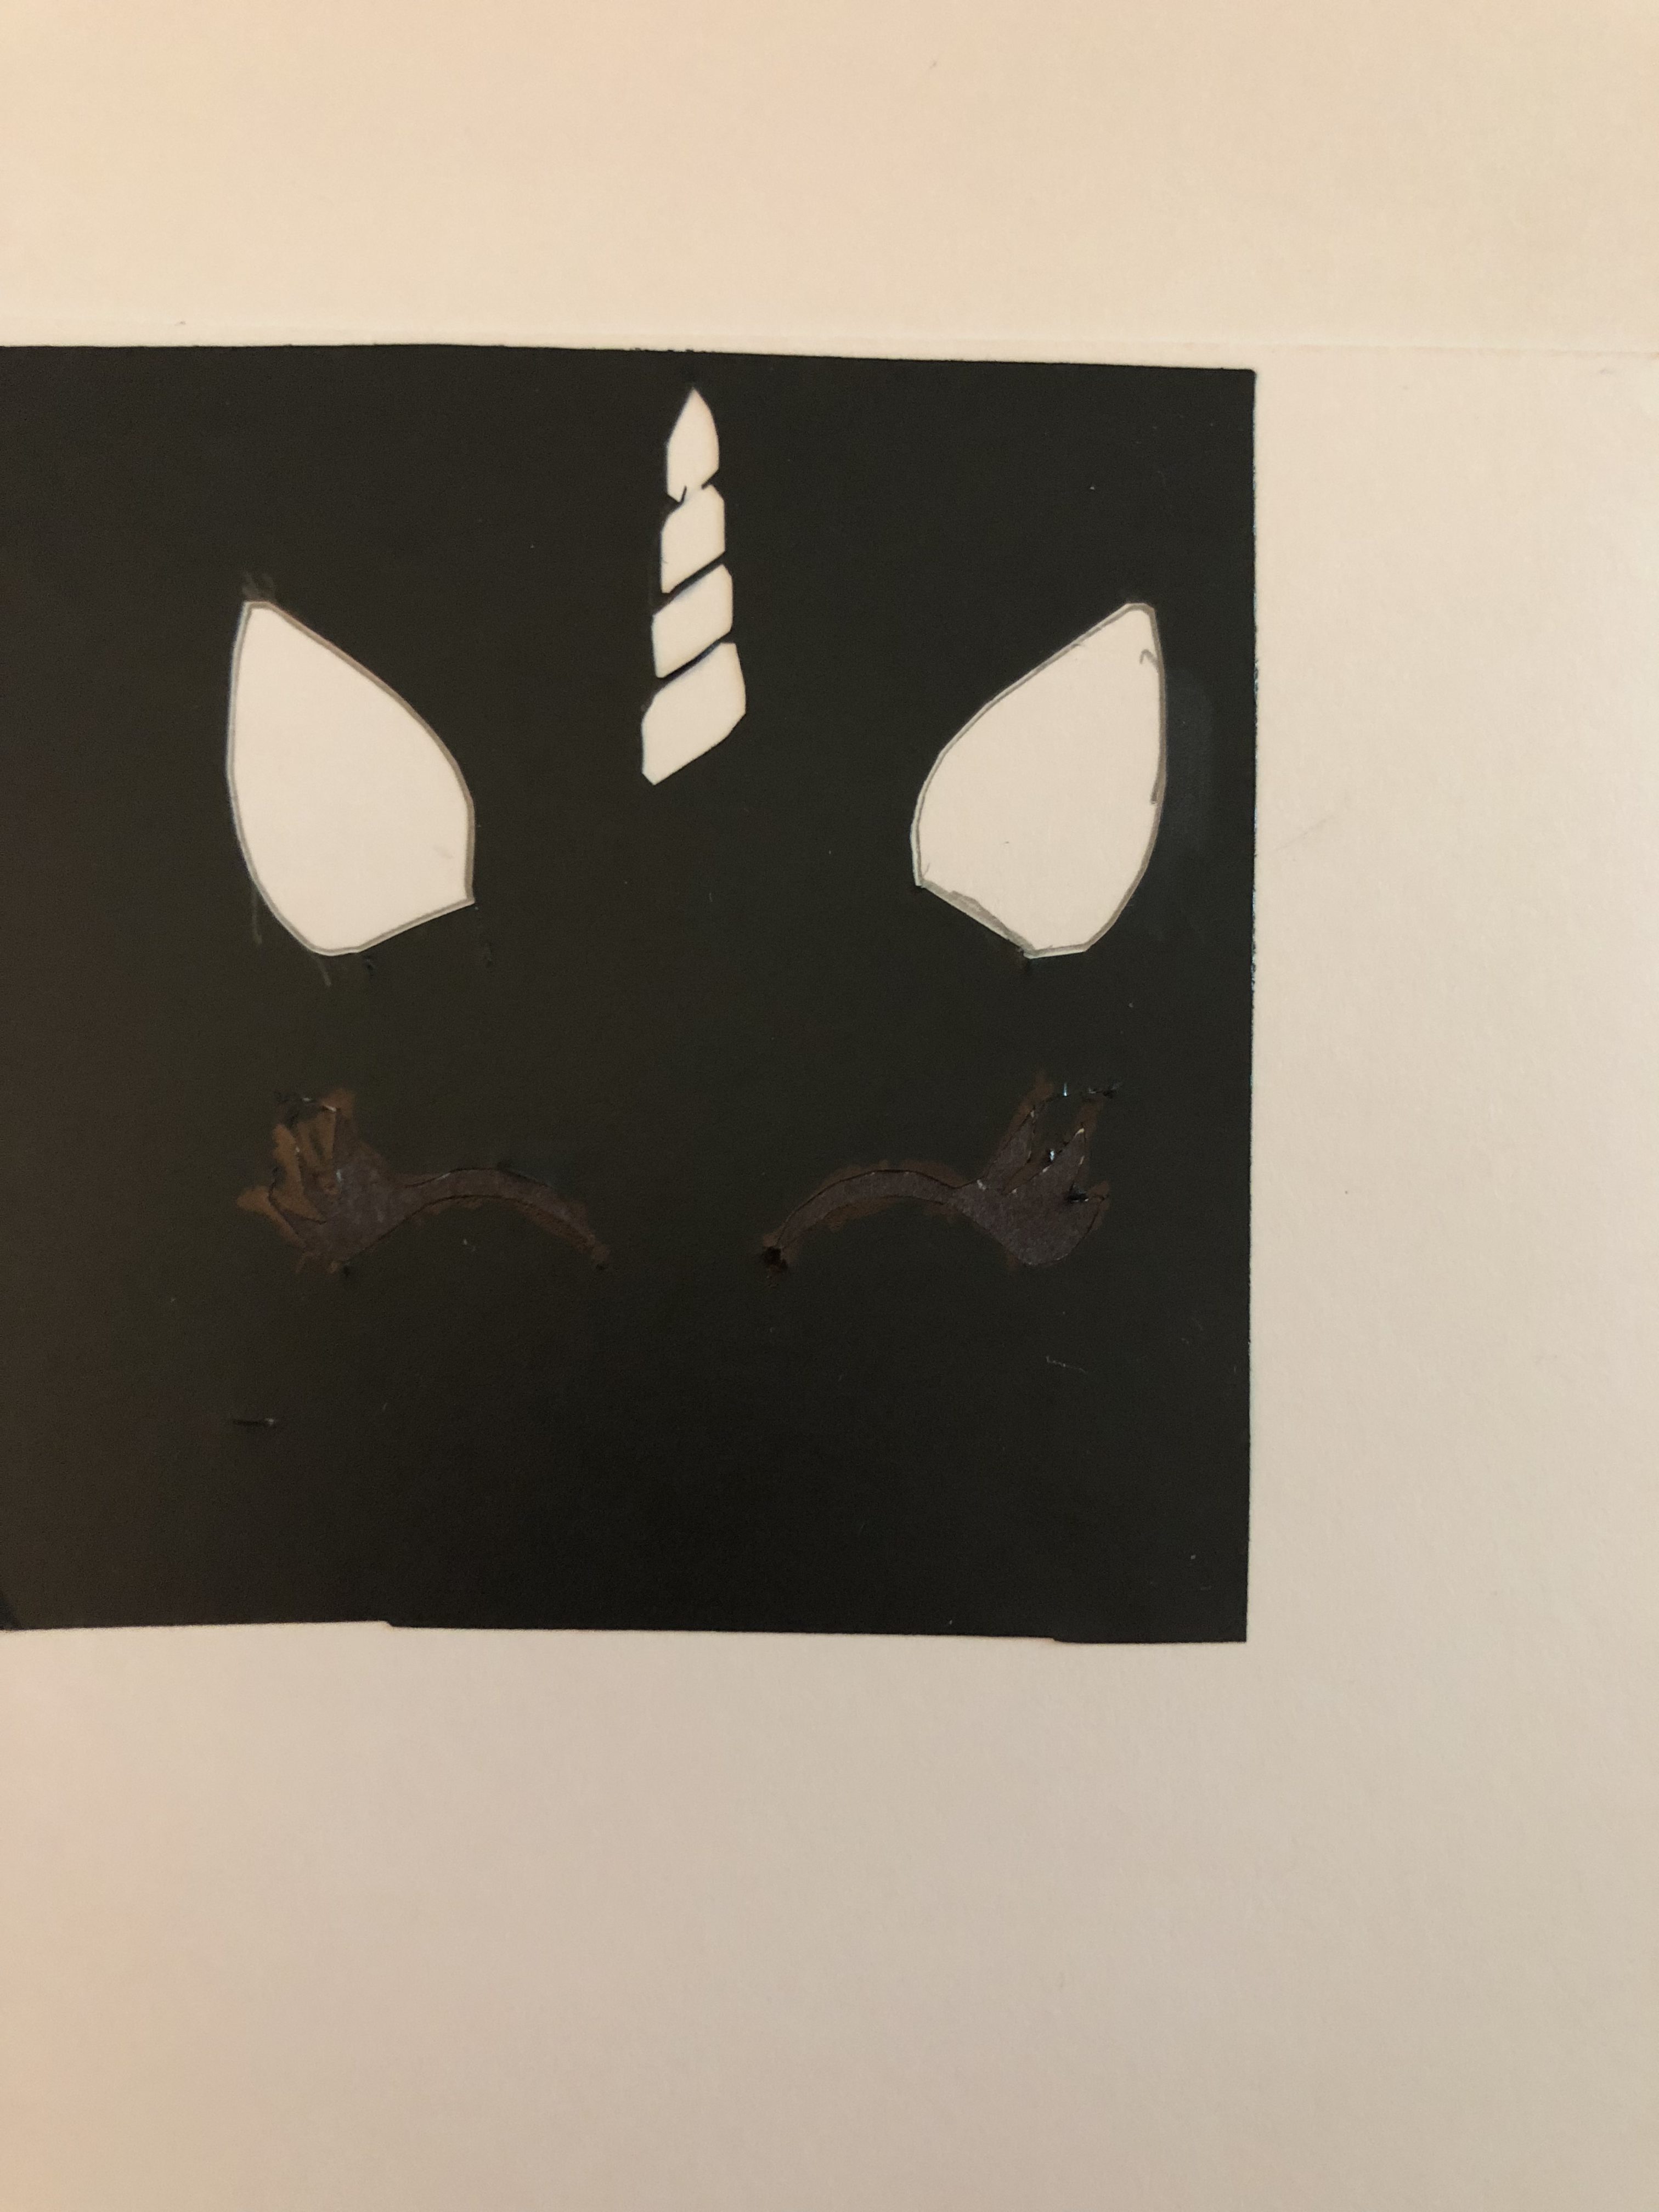

Once I did that I traced the face on the card stock using the stencil. Then I traced the ears and horn with a mechanical pencil (not that it makes a difference). After that, I placed the flower stickers right between the ears under the horn. I then colored the ears and horns and began putting the rest of the information like Autumn’s name, age and other important information on the invitations. As well as the washi tape.

I found the metallic washi

The final step is placing the polka dots on the invitation with the paint. I like the mix of pink and aqua green colors. The final result is:
I think it turned out good. Next time I will not hand write the information. I will more than likely use my printer or the pens that came with my Silhouette Cameo
~Nika xoxo
Naturebox Unboxing & Taste Test!
Hello Everyone,
This time around my Naturebox is really good. Everything in this box made me wonder why I never ordered these treats before. To get your first free box Click Here for your own healthy snacks.
~Nika xoxo
Dollar Tree Bathroom Cabinet Organization!
Hello Everyone,
I’ve been wanting to better organize the cabinet and these Dollar Tree items help me do just that. Just a few ideas on how to organize your products in your bathroom cabinet.
~Nika xoxo
L’Oréal Elvive Revive

Hey,
Today I am sharing with you my experience with Elvive Revive by L’Oréal. I received Elvive complimentary for testing.
When I tried this product on my hair I was amazed. My hair gets extremely dry in the winter something I loathe. So when I tried Elvive and I immediately saw a difference. My color that was fading I started seeing again. It’s almost like my hair game alive again.
The second time using Elvive. I realized this would become a staple in my hair care products. Would I recommend this product? Yes, absolutely.
~Nika xoxo